FBX2 Series – Screen Views
FBX2 v4.x.x
For the purposes of this guide, the top of the Fireboard has the FireBoard logo and the bottom has the probe and charging ports.
Press the Top Button to navigate between these views.
Hold any button, then follow the main menu options of SETTINGS > VIEW SETTINGS for options related to the active view.
Graph View
This view shows the graph of the temperature for the selected channel.
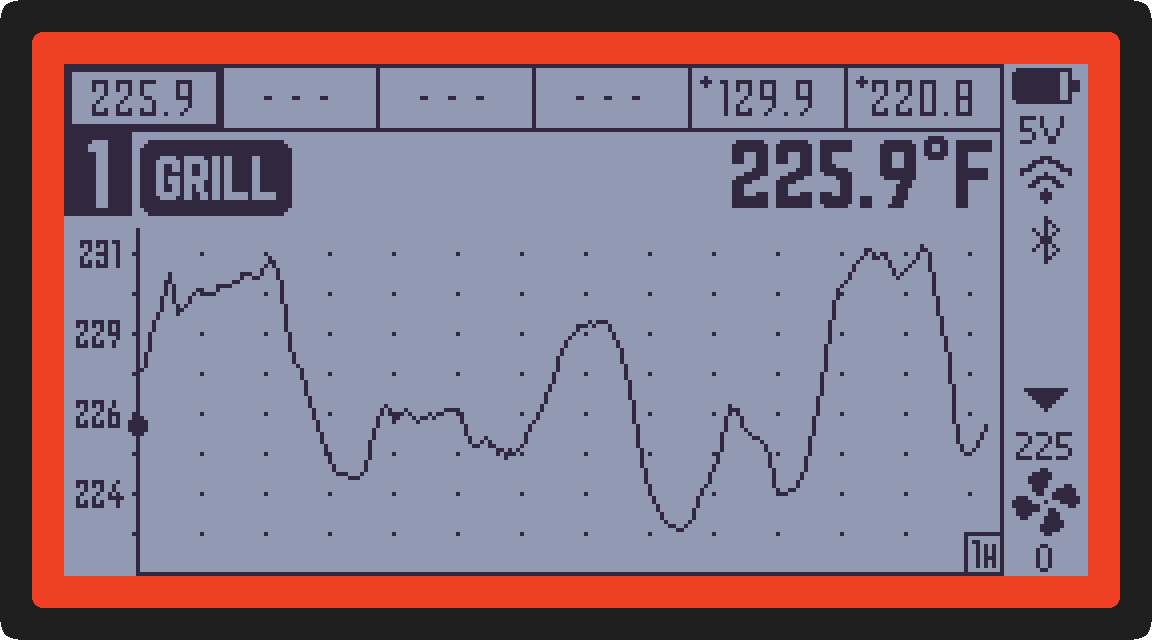
Pressing the Middle Button will change the channel selection.
Pressing the Bottom Button will adjust the temperature chart range, as indicated in the bottom right corner. The options are:
- One minute (1M)
- Thirty minutes (30M)
- One hour (1H)
- Twelve hour (12H)
Tile View
This view shows up-to 6 active channels at provides different ways of view their data.
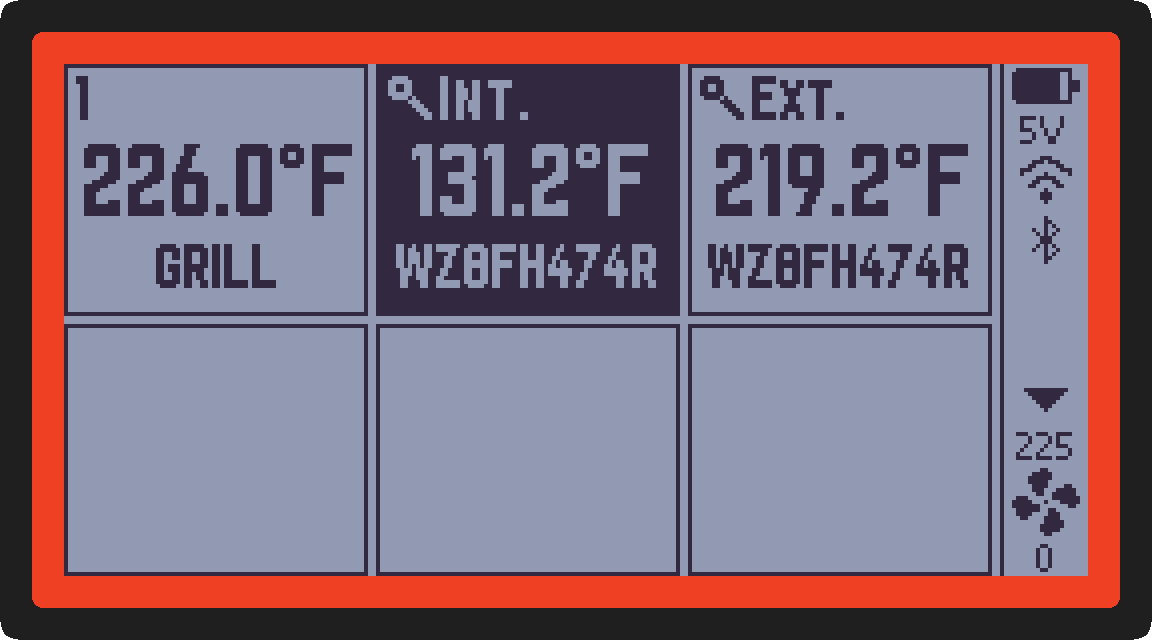
Pressing the Middle Button will change the channel selection.
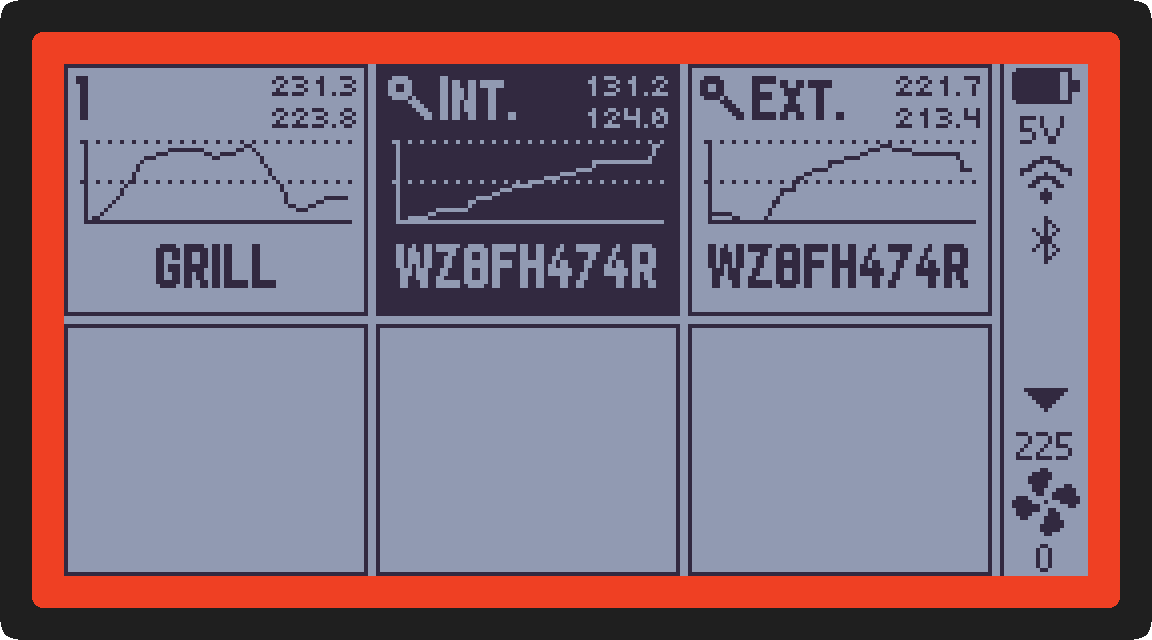
Pressing the Bottom Button will cycle through two different view options for the channels:
- Temperature: The temperature for the selected channel displayed in system degree type.
- Graph: A “mini graph” for the selected channel. The minimum and maximmum values of the chart are displayed in the upper-right of the tile. In that pairing, maximum is on the top and minimum is on the bottom.
Large View
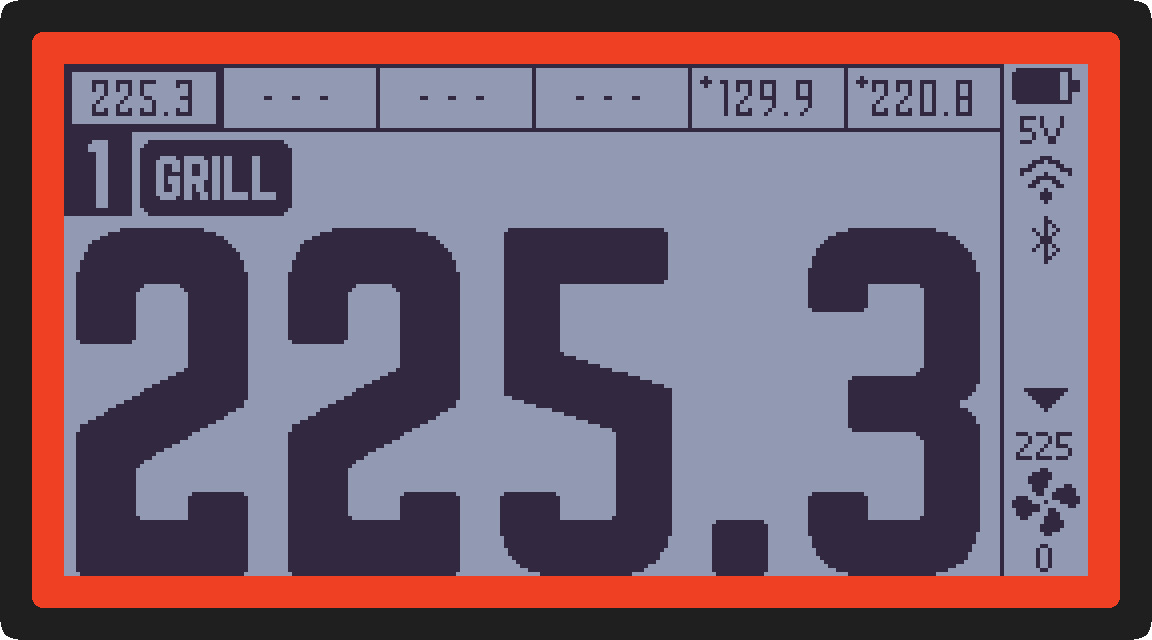
This view shows temperature for the selected channel as just a plain number in a very large font size.
Pressing the Middle Button will change the channel selection.
Pressing the Bottom Button will display more information about the selected channel via the INFO Screen.
FBX2 v3.x.x
For the purposes of this guide, the top of the Fireboard has the FireBoard logo and the bottom has the probe and charging ports.
Multi-Channel Temp View
Using the top button, navigate to the Multi-Channel View.
On this display, pressing the middle button will change the channel selection. Once the desired channel is selected, simply stop pressing the button.
The bottom button will cycle through two different view options for the channels:
- Channel Label: Default is Channel 1, Channel 2, etc. You can customize your channel labels in the FireBoard App.
- Sparkline: A “mini graph” displays below the temperature.
Single Channel Temp View
Using the top button, navigate to the Single Channel View. You can change the selected channel by pressing the middle button. Pressing the bottom button will display Drive information if you have a fan connected. More information about using a fan can be found in the Drive Operations section.
The FBX2 requires the FireBoard Drive Cable in order to use a fan, while the FBX2D and FBX2K allow a fan to plug directly into the unit. The FireBoard was designed to be compatible with a majority of fans on the market: make sure you are familiar with the compatible fan requirements.
Channel Graph View
This screen shows the graph of the temperature for the selected channel; use the top button to navigate to this screen. Press the middle button to change the selected channel being viewed.
On this screen, pressing the bottom button will adjust the temperature chart range, as indicated in the bottom right corner. Options are:
- One minute (1M)
- Thirty minutes (30M)
- One hour (1H)
- Twelve hour (12H)
Multi-Channel Temp & Single Channel Graph
After pressing the top bottom to arrive at this screen, you’ll see the temperatures for all channels with probes along the top and a graph of the selected channel temperatures at the bottom. Pressing the middle button will change the selected channel so you can view a different temperature graph. As with the Single Channel Graph View, the bottom button adjusts the temperature chart range, with 1M, 30M, 1H, and 12H options
{% enddetails %}